
 (118 votes, average: 4.03 out of 5)
You have perfected your music collection for years, thoroughly selecting tracks and creating playlists, but your PC crashed, and now your iTunes is empty? Or maybe you have reinstalled Windows, bought a new PC, or accidentally wiped your iTunes? Whatever the reason may be, now you need to start transferring song from iPod to iTunes. Fear not! We have a solution.
Follow our simple tutorial to learn how to transfer music from old iPod to iTunes library including:
✓ music files (.mp3, .m4a, .m4r, .aac),
✓ video files (.mov, .mp4),
✓ artist and album name,
✓ artwork,
✓ playlists,
✓ play count and ratings.
We offer two methods of copying music from iPod to iTunes. They also work for transferring music from iPad or iPhone to iTunes.
- How to transfer iPod music to iTunes
- How to transfer music from iPod to iTunes
- Transferring music from iPod to iTunes
- Transferring playlist from iPod to iTunes
How to transfer iPod music to iTunes
Simple one-step method
You’ve just bought a new computer or reinstalled your Windows, and now your iTunes library is empty, and all the music is on your iPod? It looks like it’s time to transfer iPod to iTunes!
Why people choose CopyTrans:
✓ Can transfer selected tracks and playlists;
✓ Can manage songs, videos, TV shows, audio books, and podcasts;
✓ Saves track metadata, artworks, and playlists;
✓ Lets you change the library structure before populating iTunes.
- Download and install CopyTrans from the download page or by pressing this button. Refer to the Installation guide if necessary.
- Make sure iTunes is not running, then start CopyTrans. Connect your device to the computer and wait for the music library to load.
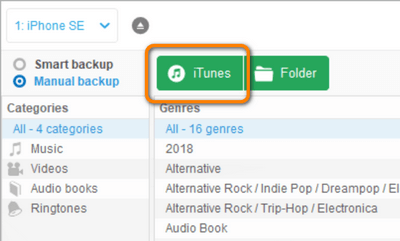
- Choose iTunes.
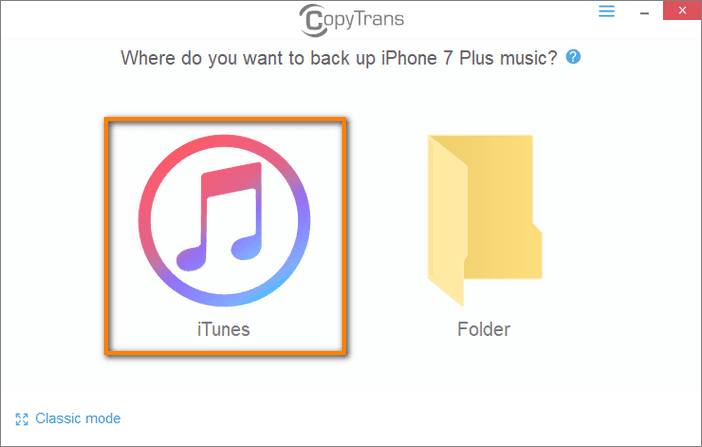
- That’s it! CopyTrans will now start importing music from iPod to iTunes. The music will be transferred automatically.
How to transfer music from iPod to iTunes
Advanced method: Select what tracks you are about to transfer
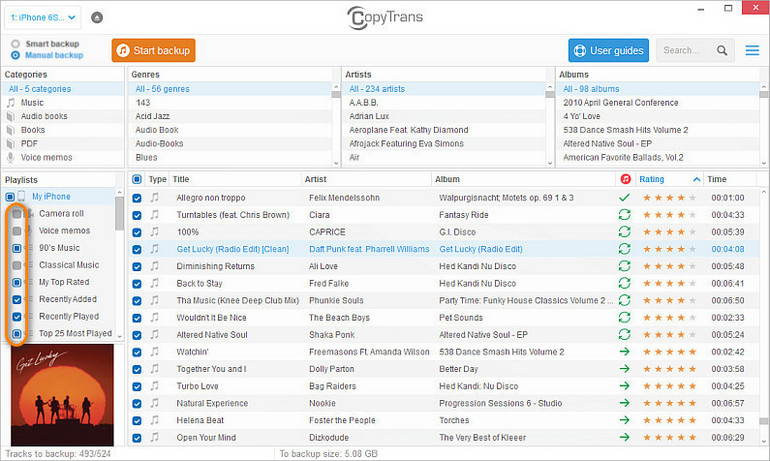
If you don’t want to transfer your whole library at once or you need to change some export parameters, the Manual backup feature is your choice. It allows you to save only the chosen music files, track information, artwork, and playlists to iTunes. You decide what to transfer. Full control and 100% customizable.
Do a manual backup to iTunes when:
- you do not want to transfer all your iPod tracks to iTunes;
- you don’t want CopyTrans to automatically update all track information in iTunes;
- your iTunes library folder is not where iTunes places it automatically;
- you want to be able to choose whether to import playlists.
- Download and install CopyTrans from the download page. Refer to the Installation guide if necessary.
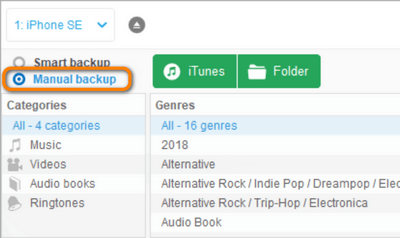
Back your music up to iTunes with CopyTrans - Make sure iTunes is not running, then start CopyTrans. Connect your device to the computer and wait for the music library to load.
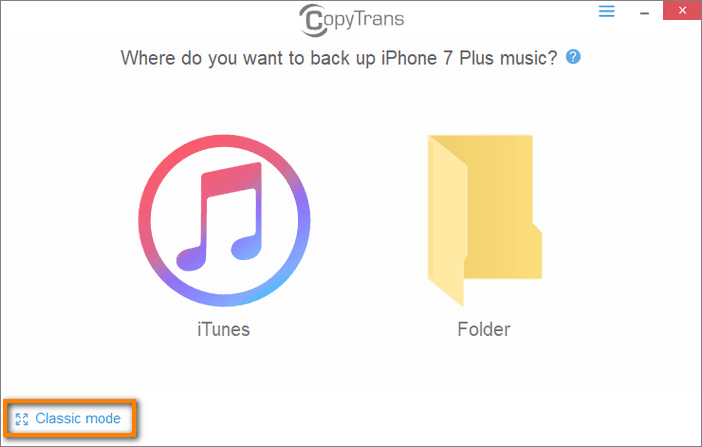
- Click on the Classic mode button.
- Your iPod songs and playlists will appear on the screen.
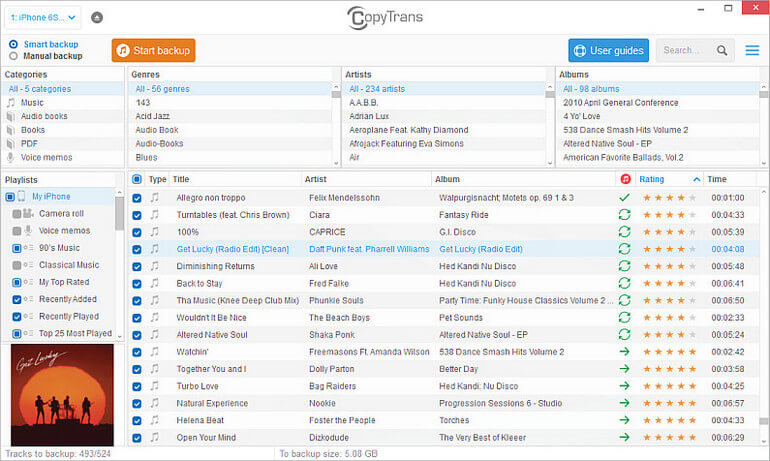
- Switch to the Manual backup mode. Choose the tracks or playlists you want to transfer to iTunes by ticking the boxes next to them. Start the transfer by tapping on the iTunes button.

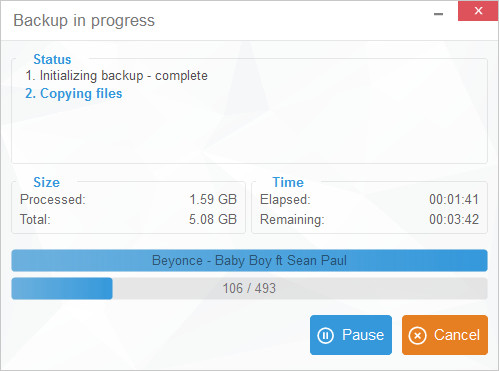
Customize your backup: Before hitting Start backup, you can alter some parameters and change the way your music will be transported to iTunes. Please refer to this guide to learn more: CopyTrans Manual Backup. - Click Start backup. CopyTrans will start transferring iPod music to iTunes. It will automatically compare the contents of your device with the iTunes library to avoid duplicates. In addition, all track-related data, such as ratings, play counts, and dates added will be automatically transferred and updated.
- That’s it! The chosen tracks have been added to your iTunes library.
💡 TIP: You can transfer up to 200 songs from your iPod to iTunes for free.
Transferring music from iPod to iTunes
YouTube tutorial
Transferring playlist from iPod to iTunes
If you are in need of transferring playlist from iPod to iTunes and want to leave the rest of the library intact, use the Manual Backup feature of the CopyTrans app. Here’s how to transfer playlist from iPod to iTunes:
- Download and install CopyTrans from the download page. Refer to the Installation guide if necessary.
Get your music to iTunes - Make sure iTunes is not running, then start CopyTrans. Connect your device to the computer and wait for the music library to load.
- Click on the Classic mode button.
- Switch to the Manual backup mode.
- Choose playlists you want to transfer to iTunes by ticking the boxes next to them.
- Start the transfer by tapping on the iTunes button.
Customize your backup: Before hitting Start backup, you can alter some parameters and change the way your music will be transported to iTunes. Please refer to this guide to learn more: CopyTrans Manual Backup. - Click Start backup. CopyTrans will start transferring playlists from iPod to iTunes. It will automatically compare the contents of your device with the iTunes library to avoid duplicates. In addition, all track-related data, such as ratings, play counts, and dates added will be automatically transferred and updated.
- That’s it! The selected playlists have been copied to your iTunes library.
If you don’t like your experience with iTunes, there is always an alternative. Check out CopyTrans programs: they can do as much as iTunes, and even more.
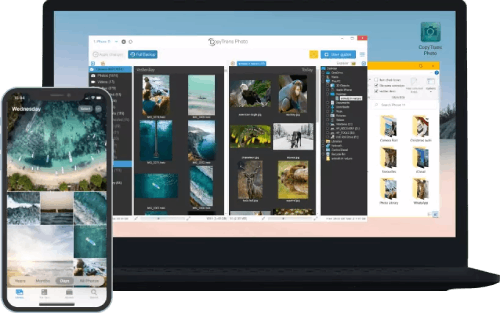
Transfer iPhone photos to the PC and back
- Transfer photos and videos from iPhone to PC
- Move photos and videos from PC to iPhone
- Create and edit iPad albums
- Organize photos and preserve album structure
- Keep EXIF data intact
- JPG, HEIC, MOV, Live photos
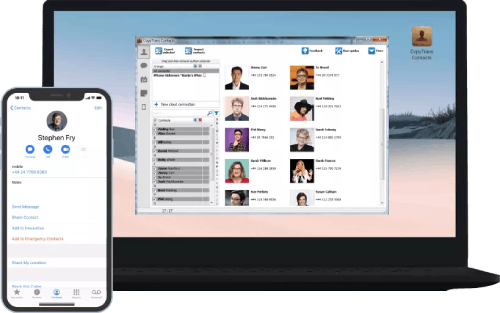
Manage iPhone contacts, messages, notes, and calendars on your PC
- Transfer contacts from one iPhone to another
- Back up your messages to a PC
- Manage your iPhone and iCloud calendars
- Save your iPhone notes to the computer
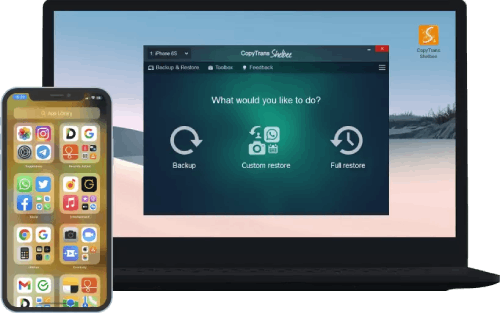
Back up your iPhone to the PC without iTunes
- Back up and restore iPhone without iTunes
- Restore iPhone data selectively
- Restore WhatsApp without iCloud
- Transfer iOS apps to new iPhone
To sum up, the topic of transferring songs from iPod to iTunes up, let me share an article by our fellow IT enthusiasts on why you should think about quitting iTunes: iTunes on Mac isn’t dead, it’s just been replaced.