
 (4 votes, average: 4.50 out of 5)
Due to an Apple limitation, albums created from within the iPhone or iPad are read-only in CopyTrans Photo. This means that you cannot modify these albums including:
-
adding photos/videos to the album,
-
deleting photos/videos from the album,
-
deleting the album,
-
renaming the album.
If you don’t know how you ended up with a read-only album, here’s an example of how it is created on the device.
Create an editable album
In order to use the full potential of CopyTrans Photo, you need create a new album on your device which you can freely modify, populate it with photos from the read-only album, then get rid of the latter.
-
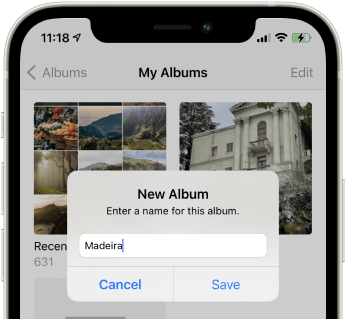
To create a new iPhone album, click on the photo icon in the top-left corner of the program window.
-
Give the new album a name and click on OK.
-
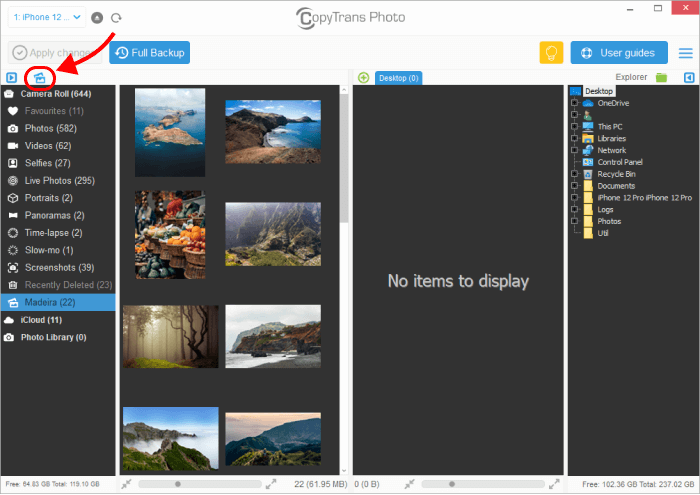
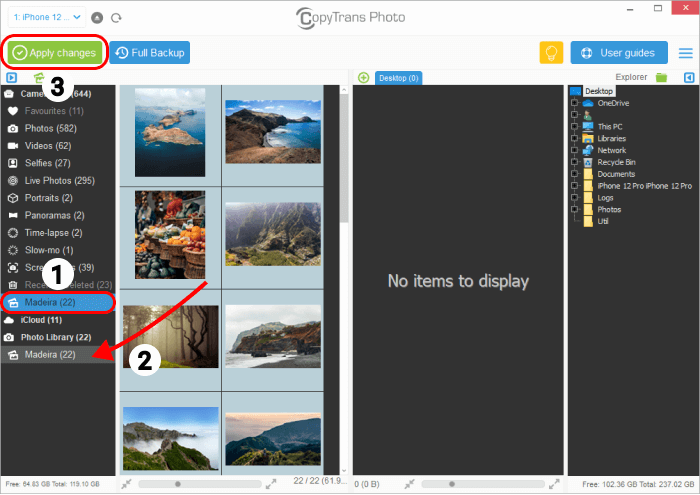
Drag and drop all photos from the old album to the new one and click on Apply changes (Press Ctrl + A to select all photos).
-
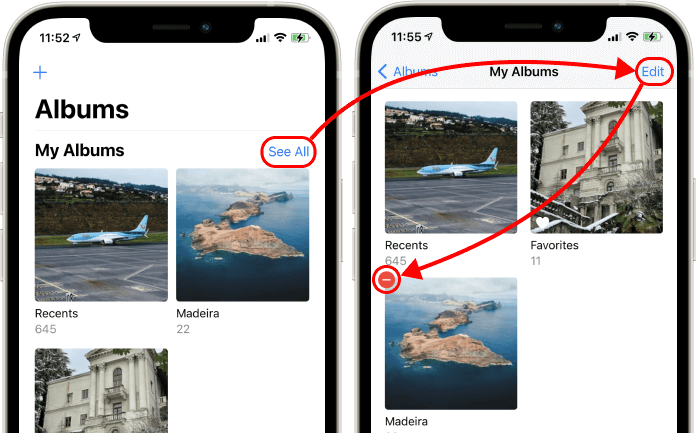
To get rid of the read-only album, go to the Photos app on your iPhone or iPad, navigate to the Albums tab and click on See All.
-
Now tap on Edit in the top-right corner of the screen.
-
Finally, tap on the red circle symbol on the left of the read-only album and confirm the deletion.

The newly-created album is fully editable, so you can:
☆ add photos/videos to the album
☆ delete photos/videos from the album
☆ change the order of photos
☆ delete the album
☆ rename the album
Transfer photos back to the Recents album
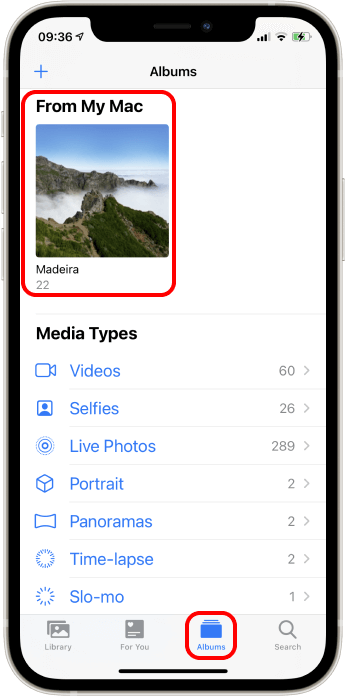
Any albums created with CopyTarns Photo, iTunes or other PC photo management software are displayed in the From My Mac section of the iPhone Photos app. These albums and the photos inside can only be edited from a PC.
If you need to edit photos located in the From My Mac section, you can easily move them back to Recents, where they become editable from your device.
Here is how to do it:
- In your Photo app make sure you are in the Albums tab, scroll down to the section From My Mac and select the album with the photos you want to copy to Recents.
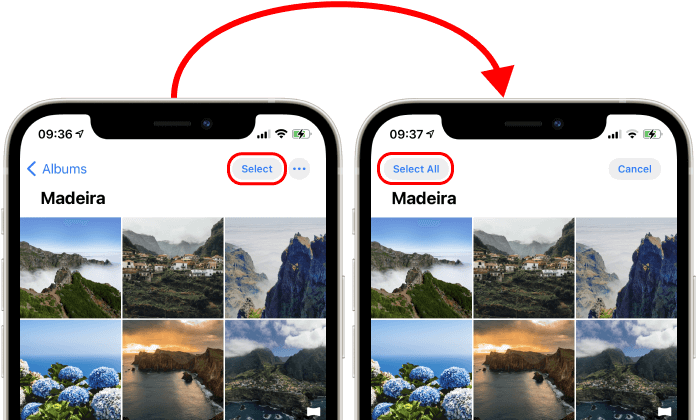
- When in the album, click on Select and choose the pictures you want to transfer or tap on Select All.
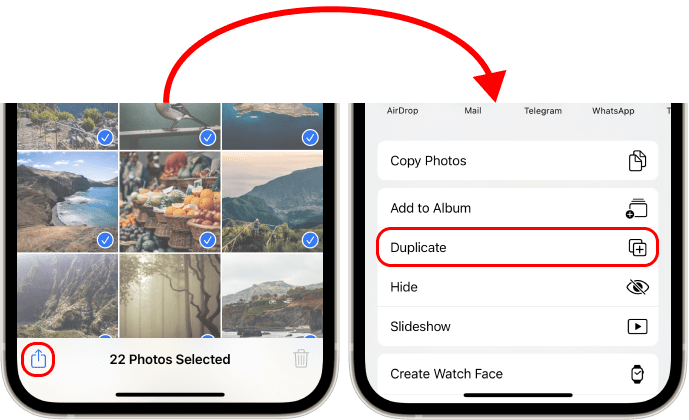
- After that, click on the sharing button in the bottom-left corner of the screen, scroll down and select Duplicate.
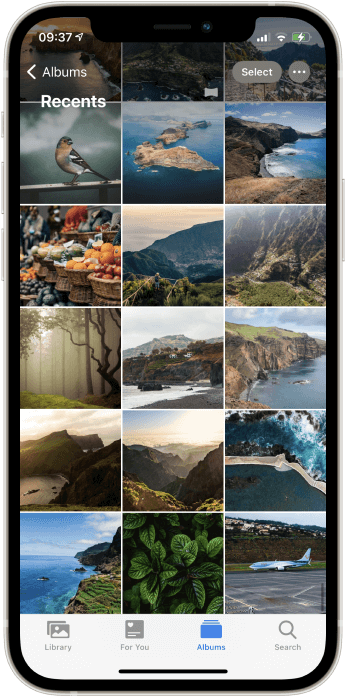
- That’s it! All the photos have been transferred to Recents.
- Now you can delete the album using CopyTrans Photo if you wish.
That’s all. You can now enjoy the freedom of managing your photos with CopyTrans Photo.