

 (12 votes, average: 3.67 out of 5)
Have you ever tried to add a photo or video to your iPhone’s Camera Roll and couldn’t figure out why it doesn’t work? It confuses many iPhone users.
Here’s the thing: Apple made the Camera Roll (or Recents on newer iPhones) to store only the photos and videos you take with your device. The same goes for albums like Favourites, Selfies, or Screenshots, they organize what your iPhone captures, but you can’t manually add files to them.
In this article, I’ll explain why that happens and show you a few easy ways to add photos or videos to your iPhone Photo Library so you can finally get around this limitation.
- Camera Roll vs Photo Library
- Copy photos from Photo Library to Camera Roll
- How to add photos to iPhone Camera Roll directly
Camera Roll vs Photo Library
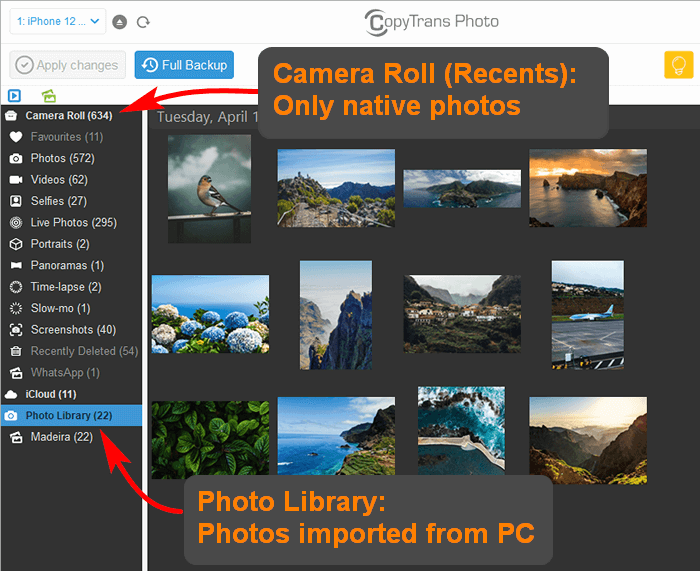
The photos you add to your device from your PC (with iTunes, CopyTrans Photo, etc.) go to a separate folder called Photo Library. Here is the difference between Camera Roll vs. Photo Library as viewed in the CopyTrans Photo interface:
NOTE: On your iPhone, you see photos added to Photo Library in the “From my Mac” section, which is not part of Camera Roll. Also, you can’t delete these images, at least from your device:
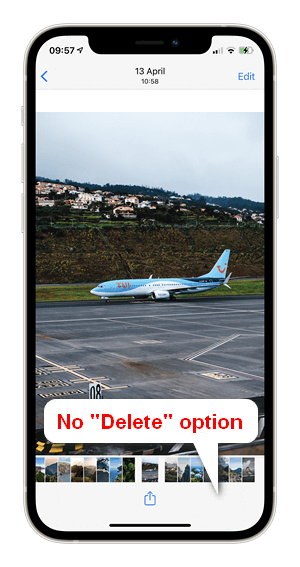
CopyTrans Photo can delete these images just fine.
Also, we know a few tricks that will help you add photos to Camera Roll in the end! Here they are:
Copy photos from Photo Library to Camera Roll
If your photos are already in Photo Library, here is a little trick to put them into Camera Roll:
-
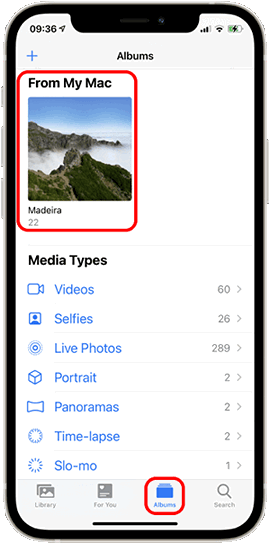
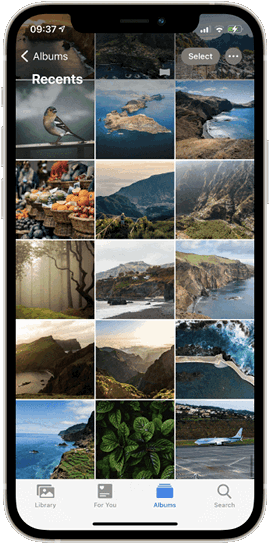
On your iPhone, go to Photos -> Albums -> From My Mac, then select the album with the photos you need to copy to Camera Roll.
-
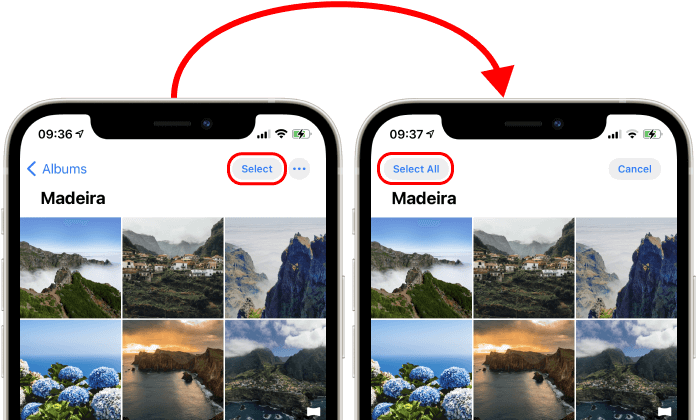
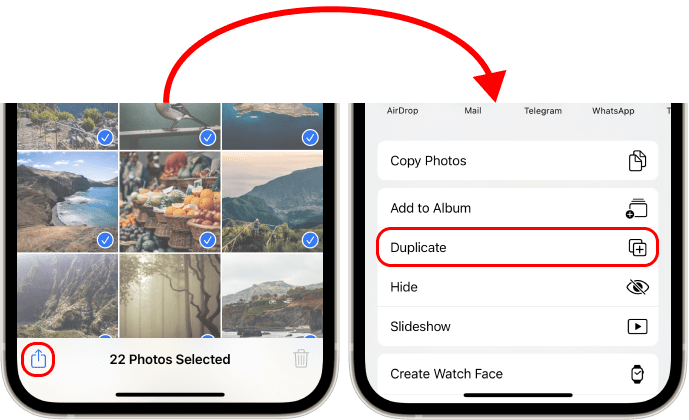
In the upper-right corner, press “Select” and choose the photos you need. There is also the option Select All.
-
Then select the Share option in the lower-left corner of the screen and choose “Duplicate” to add photos to Camera Roll or “Add to album” if you want them as part of a specific collection.
-
The photos are now part of your Camera Roll.
How to add photos to iPhone Camera Roll with Cloudly
There is actually a trick to add photos directly to Camera Roll, but you will need to use iCloud power for that. Here is the idea: if you could upload images from your PC to iCloud and enable iCloud syncing on your device, the photos would migrate straight to your Camera Roll. And we know just the tool to help – CopyTrans Cloudly!
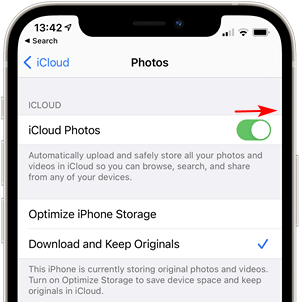
Before you start uploading photos, enable iCloud sync on your device: go to Settings -> your Apple ID -> iCloud -> Photos and set the toggle switch to ON. To prevent data loss in the future, choose “Download and keep originals”: this will keep the photos on your device even if you disable iCloud sync later.
Then, upload the photos:
-
In CopyTrans Control Center, run CopyTrans Cloudly. If you don’t have it installed, download the program here:
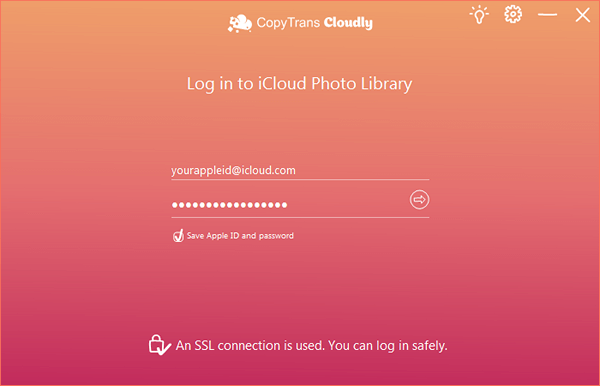
- Sign in with your Apple ID. We use an SSL connection to protect your data, so you’re safe!
-
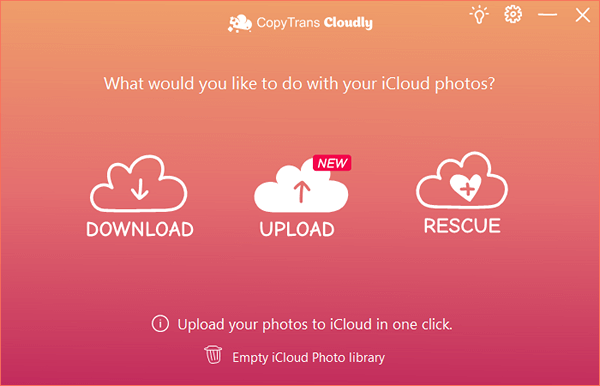
On the welcome screen, choose “Upload”.
-
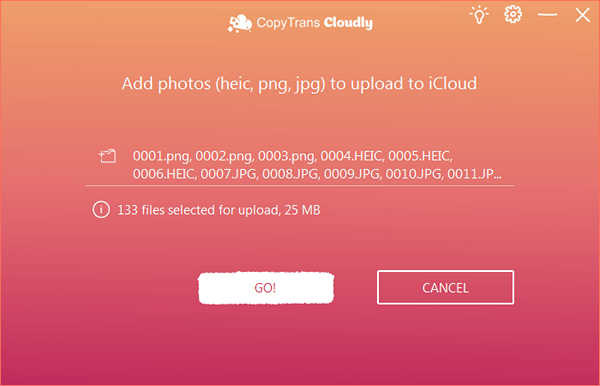
Select the files (HEIC, PNG, and JPEG images and MOV, MP4, and M4V video files) that you want to upload to iCloud. Once you’re ready, press “Upload!”
-
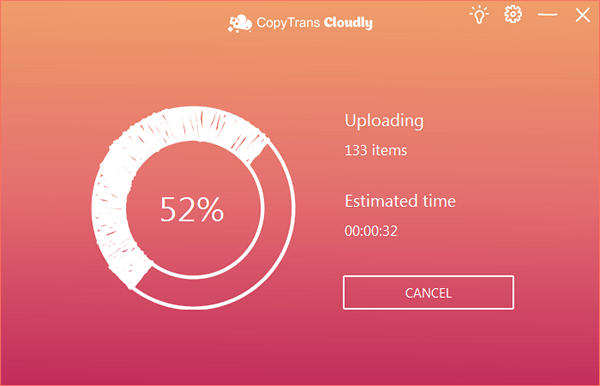
Wait until the program carefully delivers your photos and videos to your iCloud account… There they are.
-
Your images sit tightly in your iCloud. If your device is synced to iCloud, the images will appear on it as well. Viva la CopyTrans!
If you need help, refer to the installation guide.
Once your photos are safely uploaded with CopyTrans Photo, there’s one more thing worth doing — turn off iCloud sync. Why? Because if iCloud Photos stays on, Apple might “kindly” step in and reorganize your pictures again… and let’s be honest, nobody asked for that kind of help.
Disabling iCloud Photos keeps things exactly how you left them, no disappearing images, no mysterious duplicates, and no sync conflicts. Here’s an easy step-by-step guide on how to disable iCloud Photos on your iPhone.
Once that’s done, you’re in full control. You can freely add, remove, or rearrange your Camera Roll anytime you want. No syncing issues, no restrictions, just your photos, your way.