You’ve purchased a new laptop and want to transfer your iTunes library to it? Or, heaven forfend, something went wrong with your old PC? Good thing you’ve backed up your iTunes library with CopyTrans TuneSwift. This quick guide will help you restore your iTunes Library with all its contents from the backup. Let’s begin!
-
Download CopyTrans TuneSwift from the following page and run it:
Download CopyTrans TuneSwift -
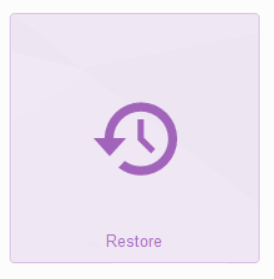
In the main CopyTrans TuneSwift menu choose “Restore”.
-
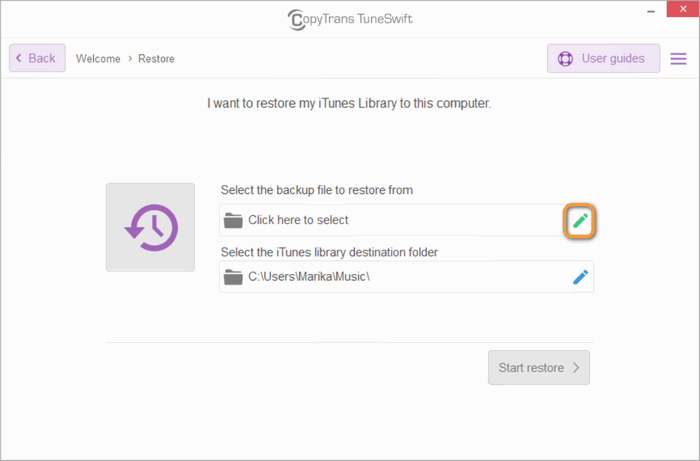
In the appeared window, click on the green pencil icon to select a backup file you will be restoring from.
-
You will be asked to locate your previous backup. The backup was saved in one or multiple tsw files, depending on the size of your library. For demonstration purposes, my backup was saved on the Desktop.
Important: if you have multiple tsw files, please choose the very first one – iTunesBackup.tsw.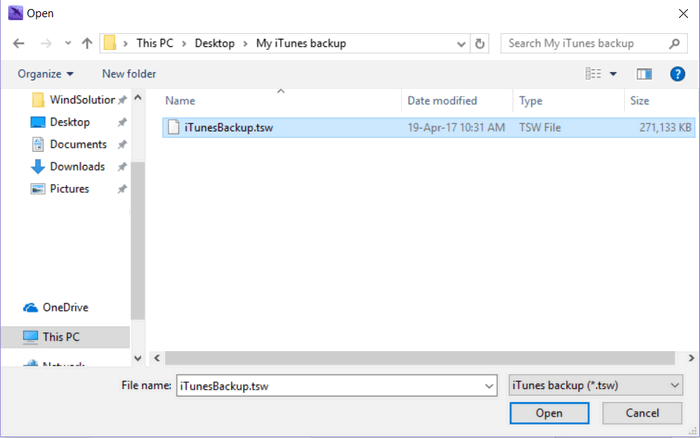
-
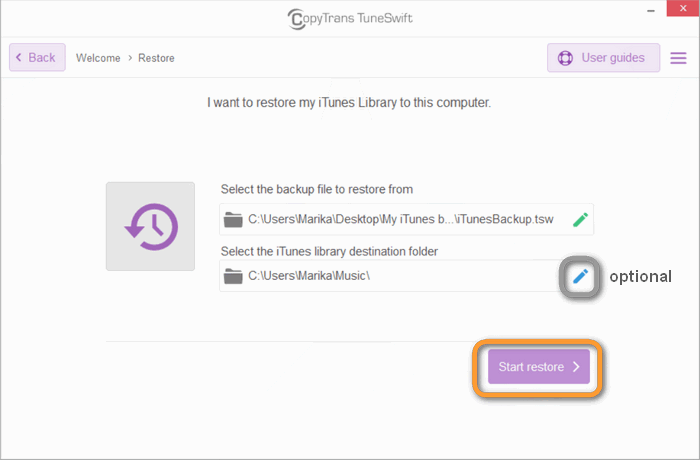
You can change the default location of your iTunes library if you want. You can also do it later by Transfer your iTunes library option in CopyTrans TuneSwift. When ready, click “Start restore”.
-
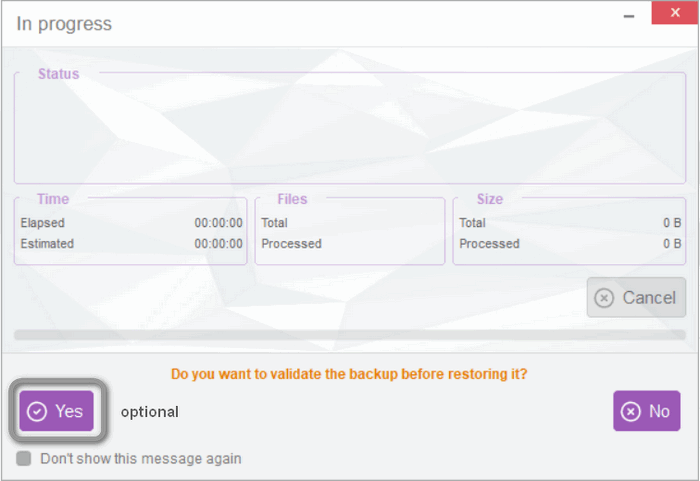
The program will ask you to validate the backup. We suggest to click “yes”, but it’s up to you.
-
Wait for a few minutes and your restore should be completed successfully. It might take up to a couple of hours, depending on the size of your library.
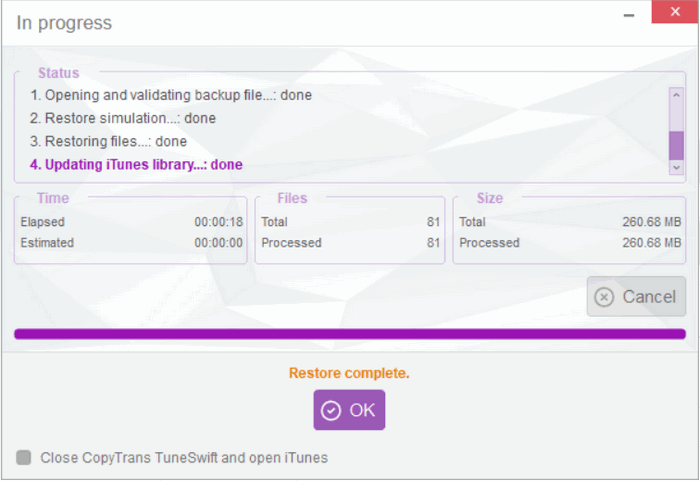
Great job! If something went wrong, you can always contact our support team – we are happy to help.