If your iTunes library is too large and it threatens to take over your PC, you can easily move your iTunes library to external hard drive or any drive on your PC.
This tutorial demonstrates how to transfer iTunes to another drive; the method is compatible with all the latest Windows versions, including Windows 10.
-
Download CopyTrans TuneSwift: Download CopyTrans TuneSwift
-
Open CopyTrans TuneSwift.
-
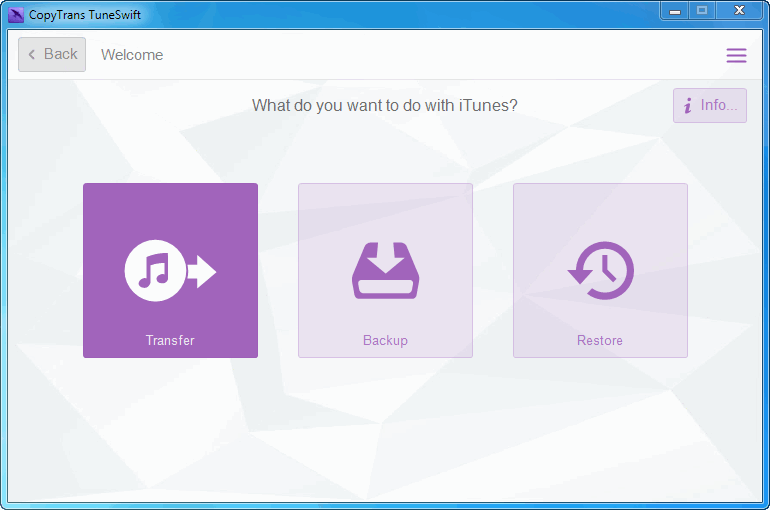
Click on “Transfer” in the main window:
-
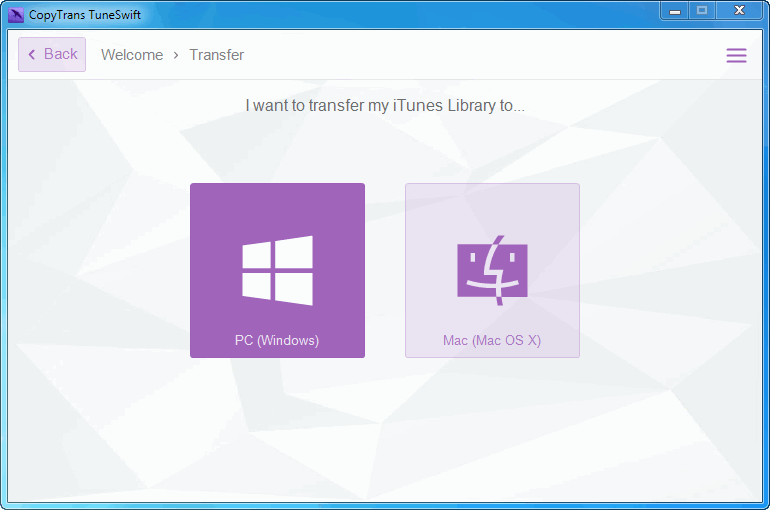
Then select “PC (Windows)”:
-
Next, click on “New folder/drive on this computer” or “External hard drive” depending on where you wish to transfer your iTunes library to:
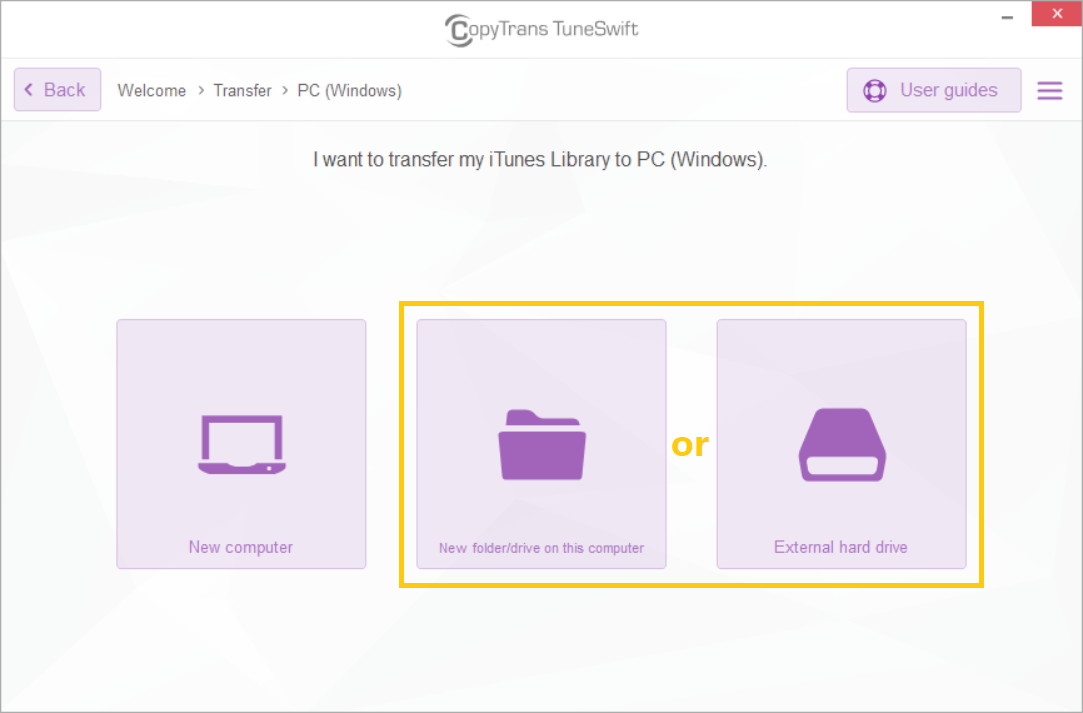
NOTE: There is a difference between transferring your iTunes library to a new computer, or simply transferring iTunes to a new hard drive/folder. As for transferring to a new computer, TuneSwift will make a copy of your iTunes library and save it, so you can restore the library to a new PC. In the second case, your iTunes library will be literally moved from its original location to the new location on the new system hard drive or the external HDD. This means that, after the transfer, your iTunes library will no longer be found in its original location.
-
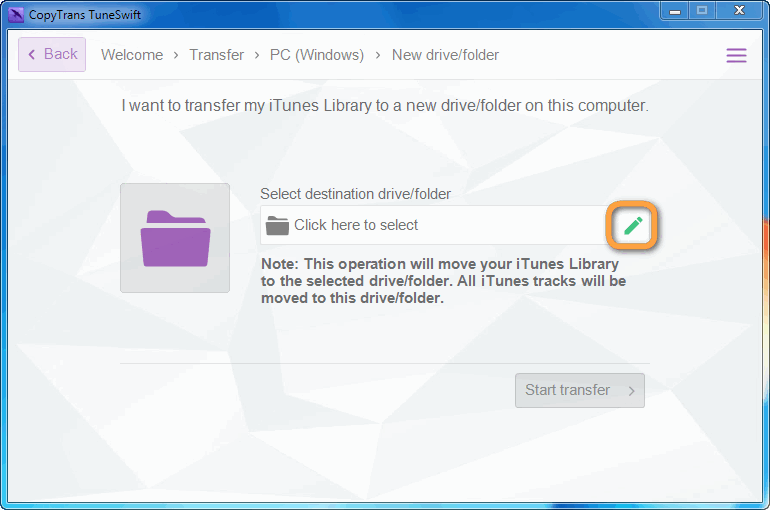
From the “External hard drive” or “New folder/drive on this computer” page, click on the Green pencil symbol. Then select the drive/folder from the pop-up window and click OK.
-
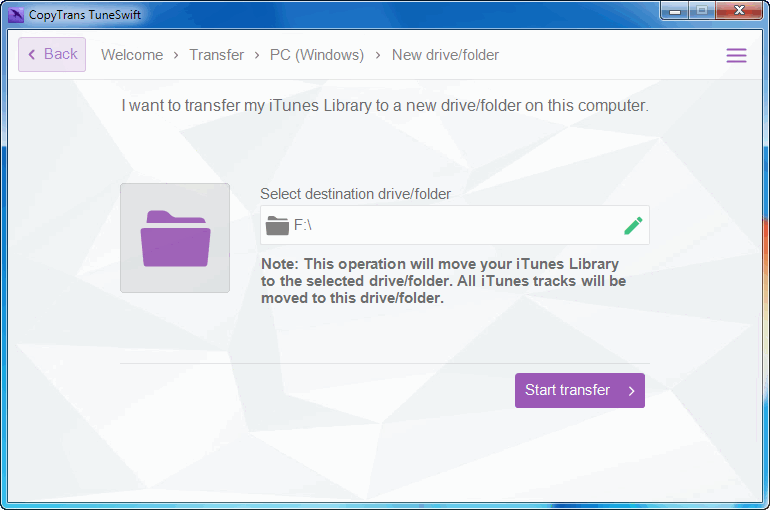
Next, click on “Start Transfer”:
-
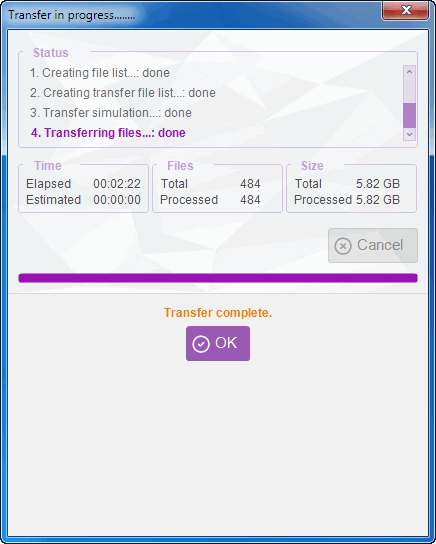
As the transfer is complete, your iTunes library has been successfully transferred to the new location.
Free up more PC space by moving the iTunes backup folder to another drive too
Every time iTunes syncs with your iPhone or iPad, it backs up the device to a hidden folder on your PC. As time goes by, this hidden iTunes backup folder eats away the free space on your PC.
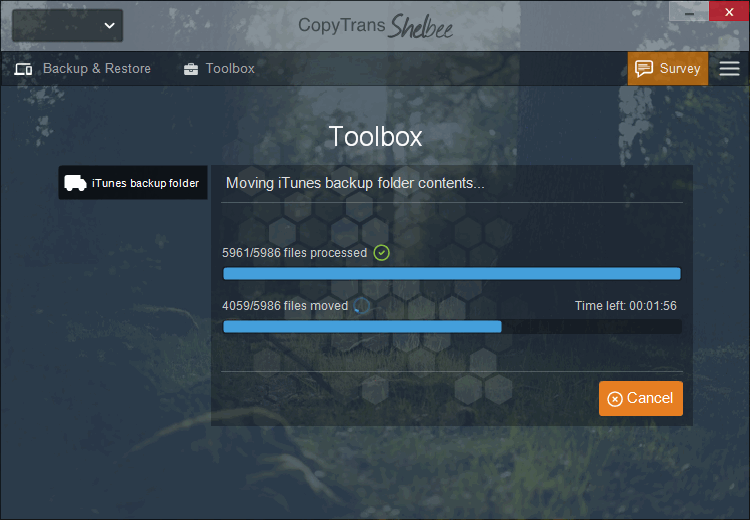
The location of the hidden iTunes backup folder remains unchanged during the transfer with CopyTrans TuneSwift but you can move the folder and its contents to another drive too with CopyTrans Shelbee. Let’s begin. Click here to move iTunes backup files to another drive
