

 (35 votes, average: 3.60 out of 5)
Seems like an easy task, doesn’t it? Well, Apple is known for making easy things more complicated than they deserve to be. And this is one of them. So, if you are about to save iPhone notes to iCloud, simply syncing them with iCloud would not be enough. The notes created before synchronization will stay saved only on the device, while all the new ones created after synchronization will be saved to your iCloud account. What? Yup, you’ve read that right!
Below are the steps to manually back up notes to iCloud.
How to sync notes to iCloud
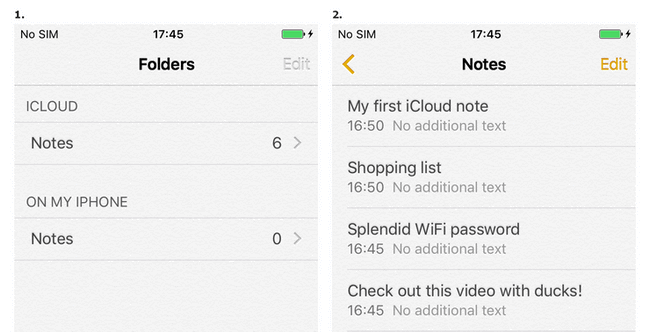
If you want to copy notes from iPhone to iCloud, enabling iCloud Notes Sync will only push newly-created iPhone notes to the iCloud account. The iPhone notes created prior to enabling iCloud Sync, remain stored locally on the iPhone under an account called “On My iPhone”, or just under account “Notes” in the latest iOS versions. If you have an iPad, they will be under “On My iPad”.
To access the “On My iPhone” notes account, simply open the Notes app and tap on “Notes” under “On My iPhone”.
Backup notes to iCloud
The best way to transfer “On My iPhone” notes to iCloud is by using CopyTrans Contacts.
-
Download the program and install it:
Download CopyTrans Contacts -
Run CopyTrans Contacts and connect the iPhone to the PC.
-
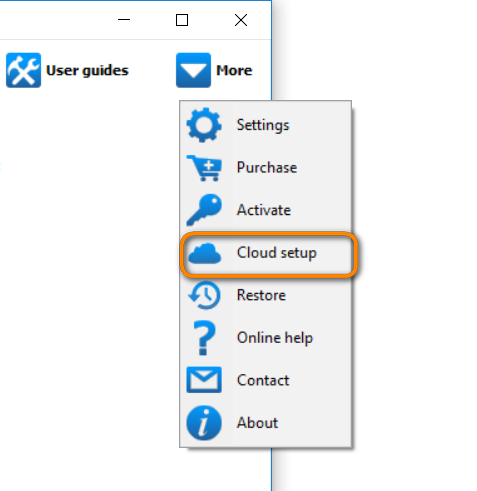
First, you need to set up a connection your iCloud account within the program. To do so, from the main program window, navigate to More > Cloud setup:
-
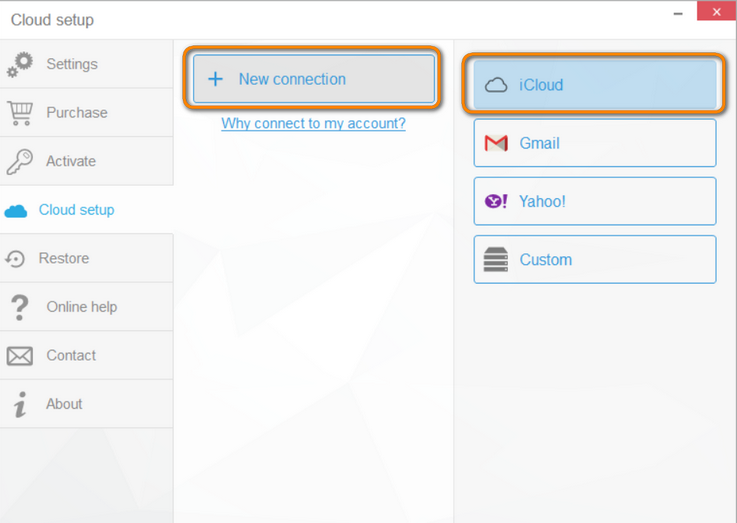
Click + New connection and then click iCloud:
-
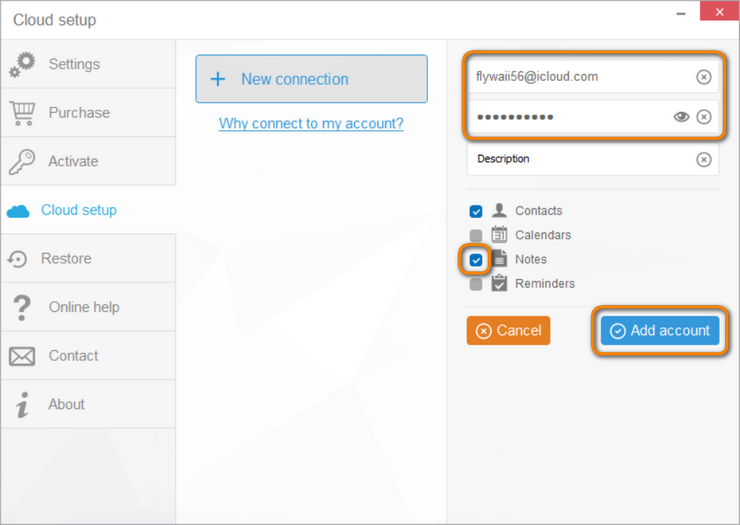
Next, enter your iCloud account credentials, check the box next to Notes and click Add account.
NOTE: We care about your online safety: your credentials go directly to Apple through a secure SSL connection.
 Note: If you experience trouble connecting your iCloud account, please read this troubleshooting article.
 -
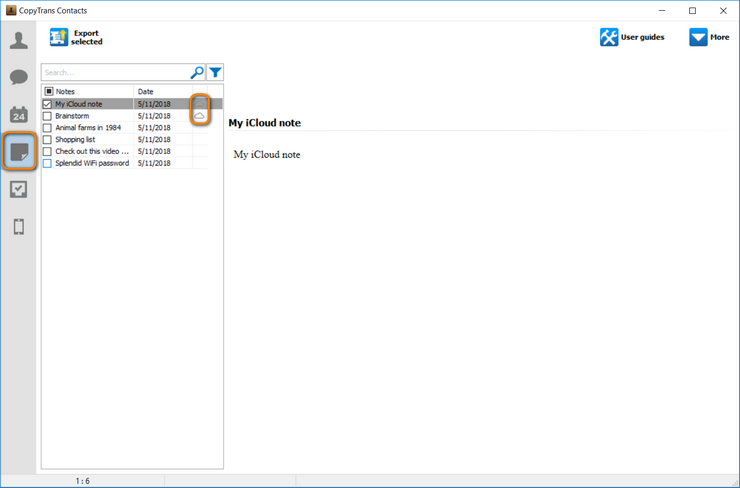
Close the Cloud setup window. From the main program window, click the Notes icon on the left. You will see both the local iPhone notes saved within the “On My iPhone” account and the notes from your iCloud account. The iCloud notes are marked by a small cloud icon:
-
Now select a local iPhone note, right-click and choose Move to… or Copy to…. Finally, choose your iCloud account. In my case, it appears simply as iCloud account.
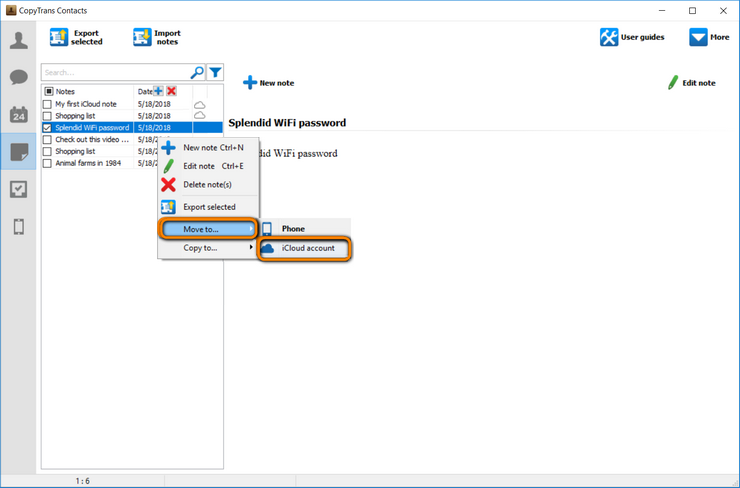
-
The selected local iPhone notes are now transferred to iCloud. This is indicated by the small cloud icon which appears next to each of the respective notes:
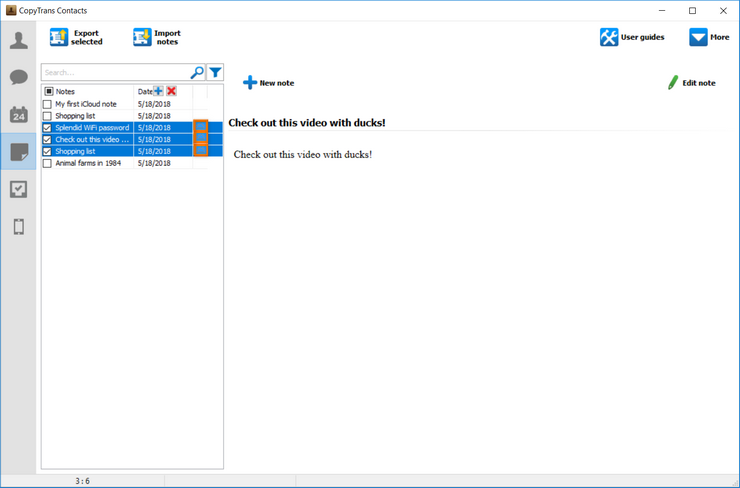
-
You can verify that the local iPhone notes were moved to iCloud by logging in to iCloud and navigating to the Notes section:
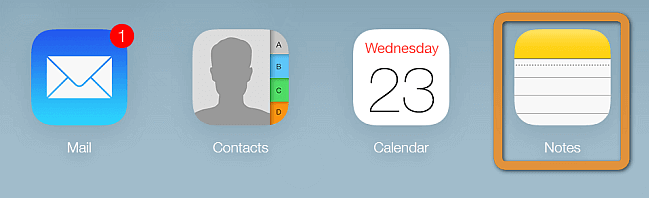
-
And you are done! Great job! That is how to move notes from iPhone to iCloud.
Advantages of CopyTrans Contacts:
✔️ Manage iPhone and iCloud notes;
✔️ Move ALL notes to iCloud;
✔️ Work with notes’ pictures and attachments;
✔️ Move notes from Outlook or Google to the cloud;
✔️ Save iPhone contacts to PC in a few clicks;
✔️ Manage all iPhone, iCloud, Outlook and Gmail contacts;
✔️ Transfer iPhone messages to PC in different formats.
Try CopyTrans Contacts for free