

 (14 votes, average: 3.93 out of 5)
This quick guide shows how to use iPod as a portable hard drive. To do that, you will need to enable iPod for Disk Use.
💡 IMPORTANT: This method won’t work for iPod Touch, as it has no capability of the Disk Mode.
If you’re a proud owner of iPod Touch, try CopyTrans Filey and this guide: How to transfer files from PC to iPod without iTunes for free.
Disk Mode iPod
-
Connect the iPod to the computer. Start iTunes.
-
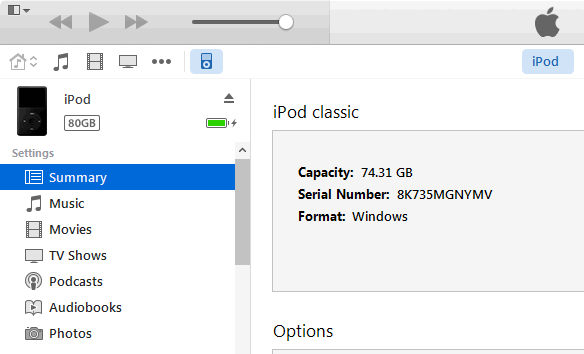
Select the iPod icon in the Source pane.

-
Click on Summary.
-
Tick Enable disk use or Manually manage music and videos.
Either one will allow you to enable iPod as portable hard drive. If you select Manually manage music and videos, iTunes won’t automatically update the iPod. If you want iTunes to automatically update your iPod, select Enable disk use instead.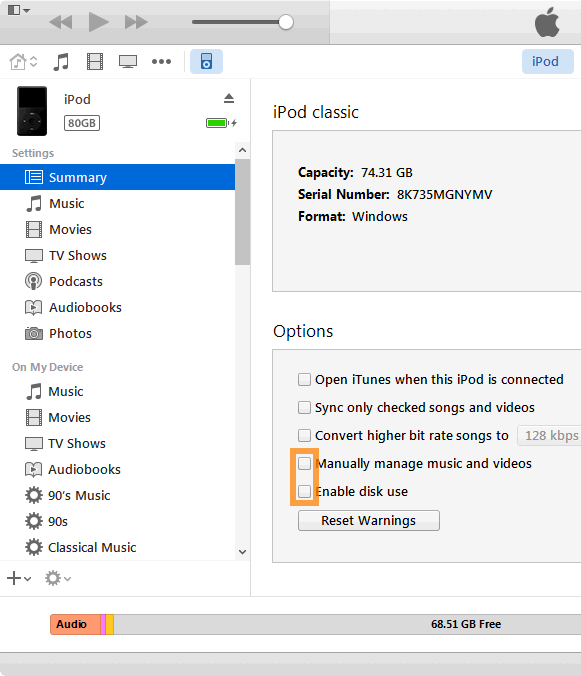
-
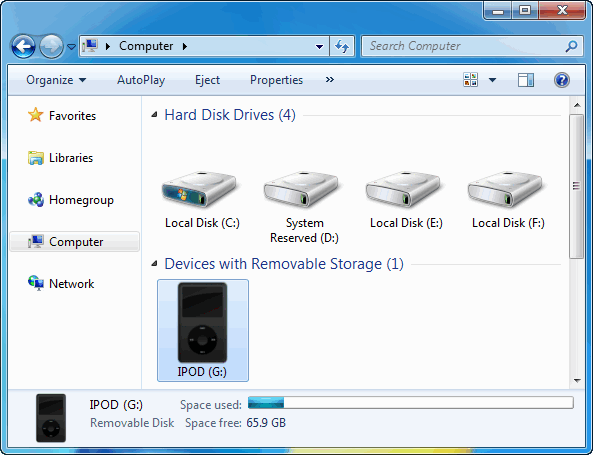
The iPod drive will appear in Windows Explorer. Double-click the icon to open the drive and view its contents. You can now simply drag files to/from your iPod.
-
Make sure to eject iPod before disconnecting it from your computer.
Tip: The iPod display will read “Do Not Disconnect” when disk use is enabled (iPod shuffle’s status light will blink orange until after it’s ejected).
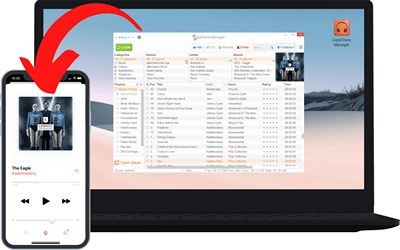
🌞 Transfer music and videos from PC to iDevice;
🌞 Create and edit playlists;
🌞 Edit track metadata;
🌞 Add album artwork.
Download for free
Related article from our Blog
- Turn your iPhone into a USB flash drive
- How to turn off automatic sync on iTunes
- How to import CD tracks to iTunes?