

 (7 votes, average: 3.86 out of 5)
iPhone Live Photos are a special Apple feature, a middle ground between a photo and a video. Instead of taking a simple picture, you can now have a mini video, which literally captures a moment.
You can play the Live Photo, apply filters to it, choose the key photo, add Live Photo effects, turn Live Photos into videos and much more! We will cover every detail in this guide. Jump to the section you need:
- Live Photos
- How to view them on iPhone
- How to turn them off
- Do Live Photos have sound?
- Why cant I hear my Live Photos?
- How to edit Live Photos
- How to make a Live Photo a video
- How to post a Live Photo on Instagram
- How to make a Live Photo wallpaper
- Live Photo to GIF
- How to transfer Live Photos from iPhone to PC
- How to send Live Photos to Android
- How to do Live Photos on iPhone 6
Live Photos
How to view them on iPhone
To see your Live Photo in action, just press and hold it. It’s that simple!
Also, Apple made it easy to distinguish Live Photos from regular images – they have a special icon in the top-left corner. ![]()
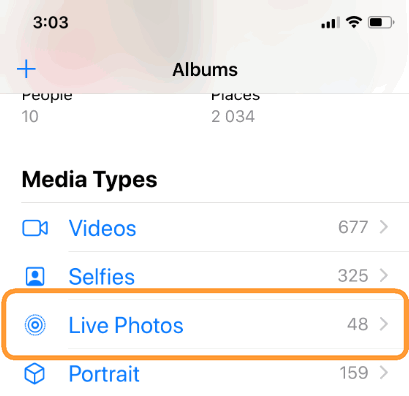
As a bonus, all of your Live Photos can be found in a separate photo folder on your device. It looks like this:
How to turn off Live Photos
If you no longer wish to take Live Photos, there are 2 ways to turn off Live Photos on iPhone.
-
Stop taking Live Photos: Go to Camera and tap on the Live Photo icon at the top ribbon to make sure that you will no longer take Live Photos.
-
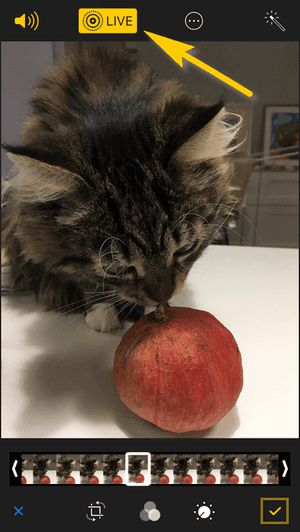
Disable animation on the existing Live Photo: If you already have a Live Photo, but no longer wish it to be animated, just click on Edit and press the Live icon at the top: it will disable the feature. Don’t forget to apply changes by clicking “Done” in the lower-right corner.
Do Live Photos have sound?
Every time you take a Live Photo on your iPhone, your device records surrounding sounds as well. Because when you convert Live Photo to video, this video has a sound which means your live photo has sound too.
Why cant I hear my Live Photos
When you play a Live Photo and the sound is not working, check if you added any effects to it: Loop, Bounce or Long Exposure? Then, the Live pictures will be silenced. What you need is to revert the Live Photo to the original.
How to edit Live Photos
In 2017, iPhone Live Photos got all the attention they deserved – iOS 11 offered a new set of tools that allows you to make your Live Photos stand out even more.
Here’s how you can edit Live Photo on iPhone:
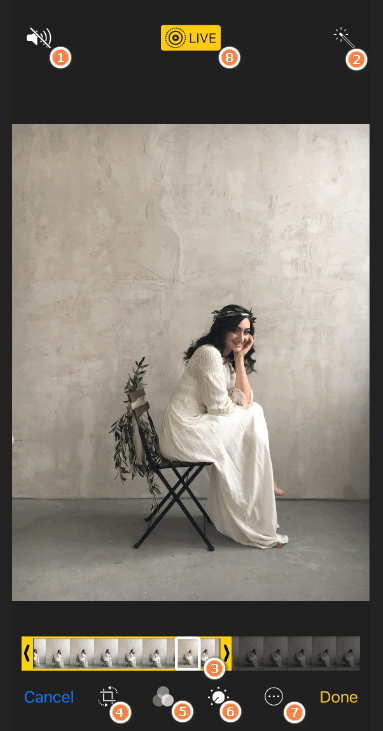
- Delete sound
- Enhance photo
- Trim video portion of the Live Photo
- Crop and rotate the image
- Apply filters
- Play with light, color or turn your photo black & white
- Markup your Live Photo
- Disable animation to convert Live Photo into a photo
And that’s not all! If you swipe up while viewing your Live Photo, you will be able to choose an extra effect: Loop, Bounce or Long Exposure. That’s definitely some Instagram-worthy content. 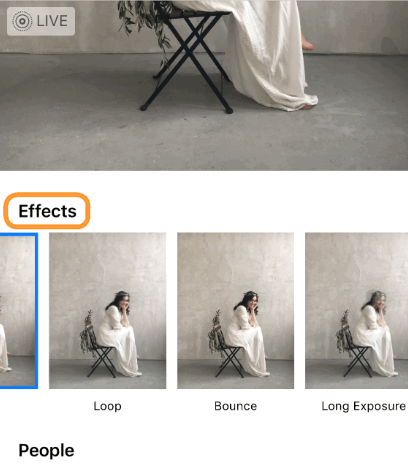
How to make a Live Photo a video
If you want to preserve the movement and surrounding sounds of your Live Photos to view them elsewhere or post on Instagram, you will need the video part of the file. Here’s where you will definitely need CopyTrans Studio to convert Live Photo to video:
✔ Preview all images on PC,
✔ Sort your photos by name, date, or size,
✔ Transfer photos and albums between iPhone and PC,
✔ All iOS versions and devices.
Download CopyTrans Studio
*100% clean and safe
-
Download CopyTrans Studio and set it up.
-
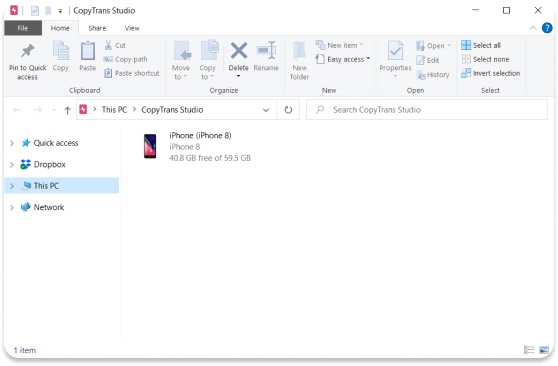
Open the program. Then choose your iPhone and your Photo Library.
-
Now open Live photos in CopyTrans Studio and transfer the photos to PC. Then only save the video files.
Find a detailed guide on how to turn Live Photos into video with CopyTrans Studio.
Here is how to turn a Live Photo into a video using CopyTrans Photo!
How to post a Live Photo on Instagram
For some reason, Live Photos are still not supported by Instagram. It only works for Instagram Stories – you can select the Live Photo to post, then press & hold to animate.
But if you definitely need to post a live photo on Instagram, we have a trick that works!
-
Copy the Live Photo on your PC with CopyTrans Photo:
Get CopyTrans Photo
* No credit card requiredYou will get two separate files on your PC – a JPEG file and a MOV file.
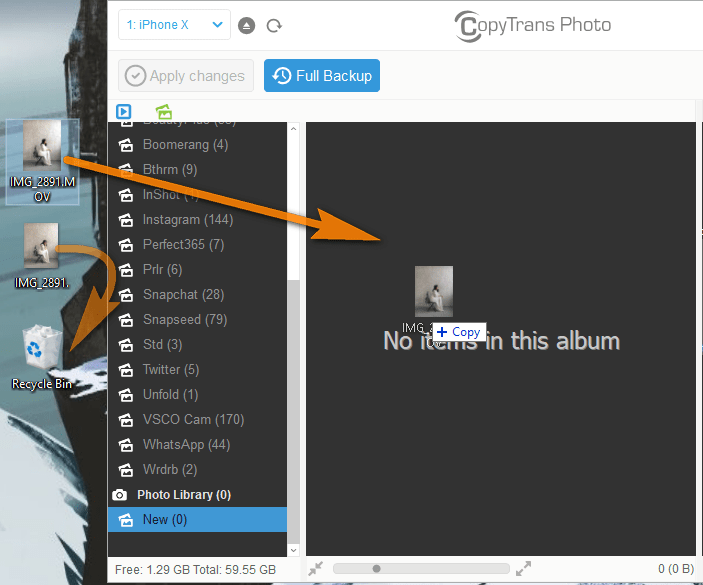
-
Delete the JPEG file and copy the video file back to iPhone with CopyTrans Photo by dragging and dropping it to the right side of the interface. Now you will have a video file on your iPhone instead of a Live Photo.
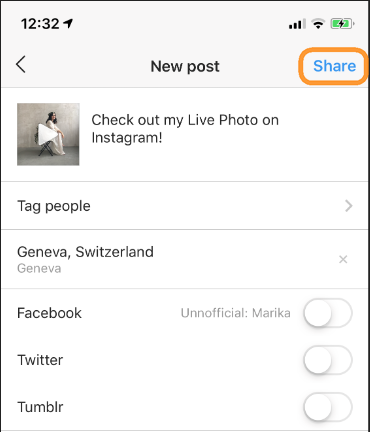
-
This video can easily be added to your Instagram – no restrictions anymore!
Alternatively, you can use iPhone apps such as Lively or Motion Stills to make a video from a Live Photo. The downside is that the apps will place a watermark on the video if you’re not using the paid version.
Indisputable advantages of CopyTrans Photo:
💥 Preview all images on PC,
💥 Sort your photos by name, date, or size,
💥 Transfer photos and albums between iPhone and PC,
💥 All iOS versions and devices.
How to make a Live Photo wallpaper
What’s the point in live pictures if you can’t enjoy them all the time? If you haven’t set a Live Photo wallpaper on your iPhone yet, it’s high time to do it! Here are 2 ways to use your live photos as wallpaper:
-
Go to Settings->Wallpaper->Choose a New Wallpaper. Navigate to the Live Photos folder and select the Live picture. Adjust it accordingly and enjoy!
-
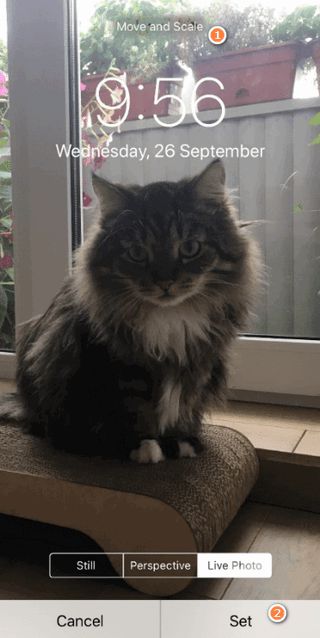
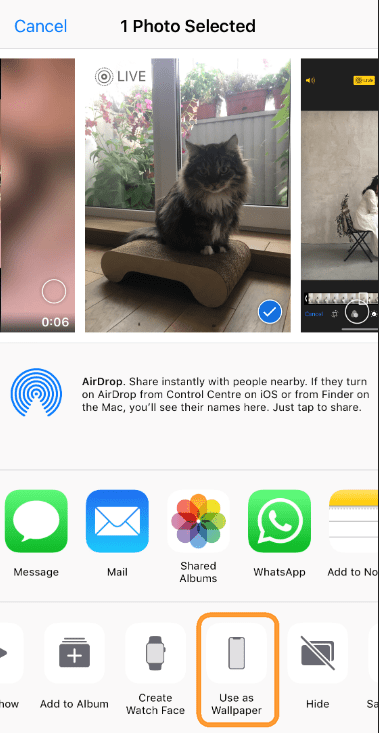
Or, navigate directly to the Live Photo you want to use as a wallpaper and click on the share button. Next, select “Use as Wallpaper”, adjust it and click “Set”. That’s it!
TIP: To animate a wallpaper, just press and hold your locked screen. Pretty cool, right?
Live Photo to GIF
Actually, you could create a Boomerang out of your Live Photo – the setting is right on your device! Swipe up while viewing your Live Photo, and you will be able to choose an extra effect: Loop, Bounce or Long Exposure.
Choosing “Loop” or “Boomerang” will turn your photo into a GIF. Your newly created gif will be saved in the Animated folder in the Photos App.
How to transfer Live Photos from iPhone to PC
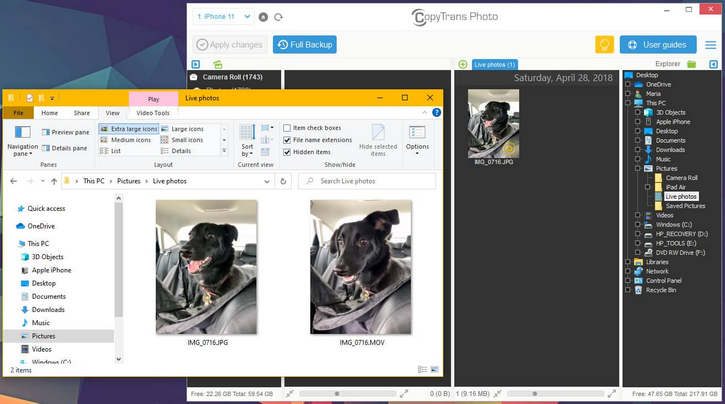
The latest version of CopyTrans Photo can transfer your Live Photos to PC and back. To do so, install CopyTrans Photo on your computer and connect your iPhone or iPad.
-
Start with downloading and installing CopyTrans Photo:
-
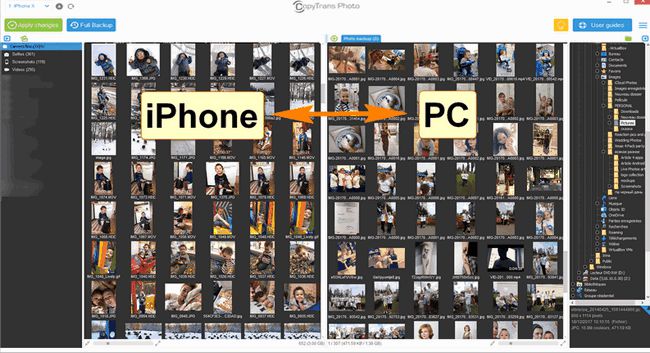
Connect your iPhone or iPad to PC. You’ll see all your iPhone photos and videos on the left side of the screen. You will also see your PC pictures on the right.
-
In CopyTrans Photo, Live Photos are marked with a small yellow symbol just like on your iPhone. To transfer them to a computer, just drag them from left to right.

-
After the transfer, you will have two files for each Live Photo: the photo and the video part.

⭐ Transferring live photos back to iPhone ⭐
If you want to transfer a live photo back to iPhone, good news — CopyTrans Photo will see that the image and the video belong together and add them as a single Live Photo!
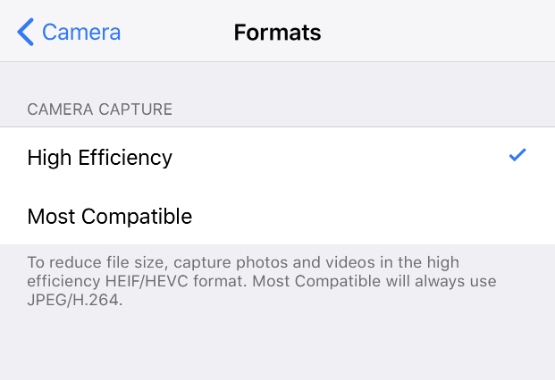
Important: Did you know that since iOS 11 all iPhones take photos in HEIC format by default? This format is much better than JPEG in terms of file size and image quality and uses your disk space almost twice as effectively.
Let’s check whether your iPhone does that. Go to Settings -> Camera -> Formats:
The only downside of this format is that the HEIC format is not yet supported by Windows. However, we offer you a free Windows plugin that allows your PC to display HEIC files in Windows Explorer (and even use HEIC photos with Microsoft Office):
Get CopyTrans HEIC for Windows
We strongly recommend keeping the HEIC format as it occupies 50% less space on the hard disk compared to JPEG.
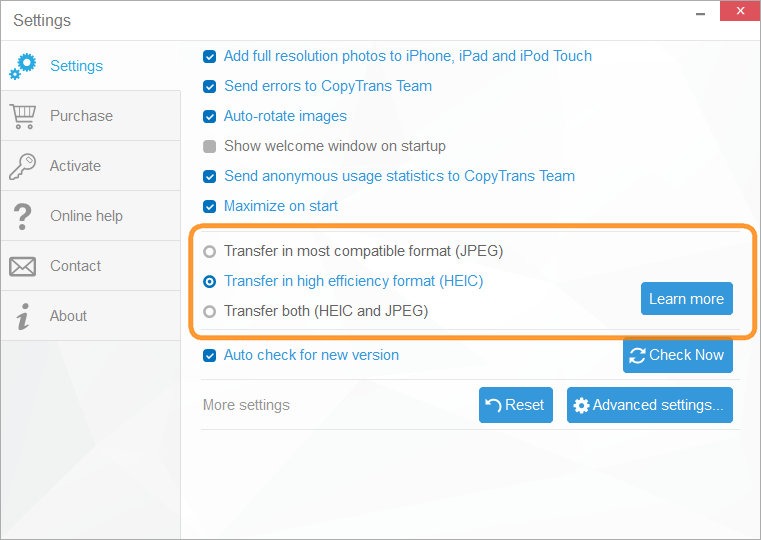
But if you want, you can always to choose to convert photos to JPEG from the CopyTrans Photo settings menu:
How to send Live Photos to Android
If you followed the above-mentioned tutorial and saved your Live Photos to a computer, you can easily transfer them to an Android device. Since there is no support for Live Photo on Android, you can only import the photo and the video part separately – exactly why CopyTrans Photo is a must.
To transfer Live Photos to Android, connect your Android device to the PC and drag the photo/video saved on the PC into the DCIM folder on the Android phone.

How to do Live Photos on iPhone 6
In general, Live Photos are available for all iPhone devices starting with iPhone 6s. If you have an older model and want to take a Live Photo on iPhone 6, you can follow the guide from iPhone hacks that suggests a method involving an iPhone jailbreak.
Alternatively, you can watch this YouTube video below:
I hope you enjoyed this guide! Tell us what you think in the comments.